Make Cloudy Sky Blue – Part 2

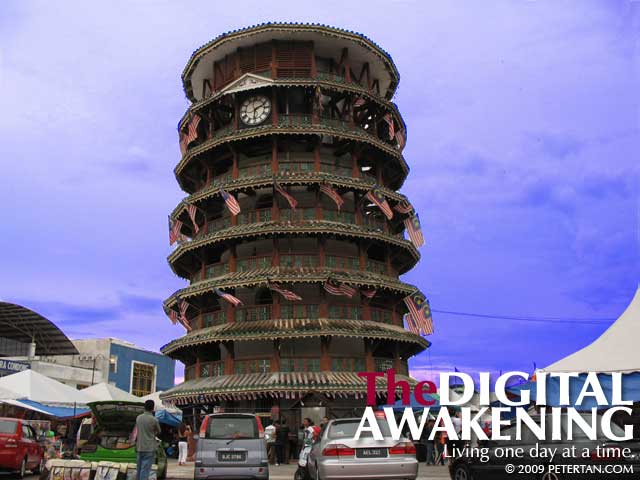
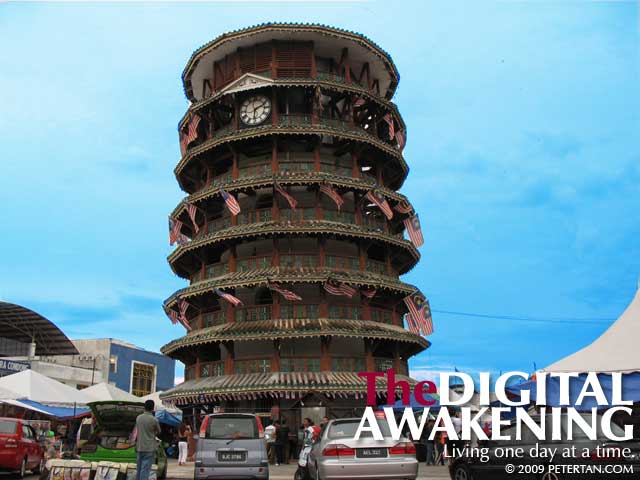
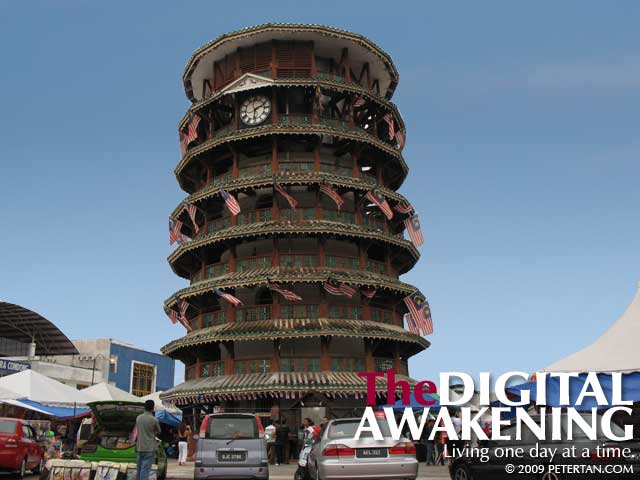
Photoshopped image of the Leaning Tower of Teluk Intan with a blue sky background
Leaning Tower of Teluk Intan with a nice blue sky background.

Part 1 is here. I was still not satisfied with the colour of the sky after the second attempt. Surely there must be an easier and a more accurate way to this process. And I discovered there indeed was an easier a better way to make the sky look more realistic! For this method, an image of blue sky is needed. It can be an image with other objects. As long as the area of the sky is large enough to fill the sky area of image being worked on, it is good to use.

This is the second and better method to turn a cloudy sky to a nice shade of blue with Photoshop:
1. Select the Magnetic Lasso Tool and trace the outline of the objects that are not part of the sky.
3. Click Layer > New > Layer via Copy. This will create another layer with the selected objects.
4. Open the the image of the sky and drag into the object image window.
5. Select the sky layer and click Layer > Arrange > Send Backward. This is to place the sky layer behind the object layer.
Steps 6 to 12 are additional steps included after I published this entry. Skip Steps 6 to 9 if the sky image is the same size as the object image. These steps are to crop the sky layer to the size of the object image if it is larger. Steps 10 to 12 are to make the sky look more realistic by making the sky overhead darker and gradually lighter towards the horizon.
6. With the sky layer still selected, drag the Rectangular Marquee Tool across the entire composite image to select the entire image within the window.
7. Click Layer > Create Clipping Mask.
8. Click Image > Crop.
9. Click Select > Deselect. This is to turn off the marquee around the image.
10. Select sky layer. Click Layer > Layer Style > Gradient Overlay.
11. Check and select the Gradient Overlay box.
12. Select Normal for Blend Mode, 20% for Opacity, Black and White for Gradient, Linear for Style, -90% for Angle and 50% for Scale. Click OK to close the window.
13. Click Layer > Flatten Image to complete the process.

Make Cloudy Sky Blue – Part 1

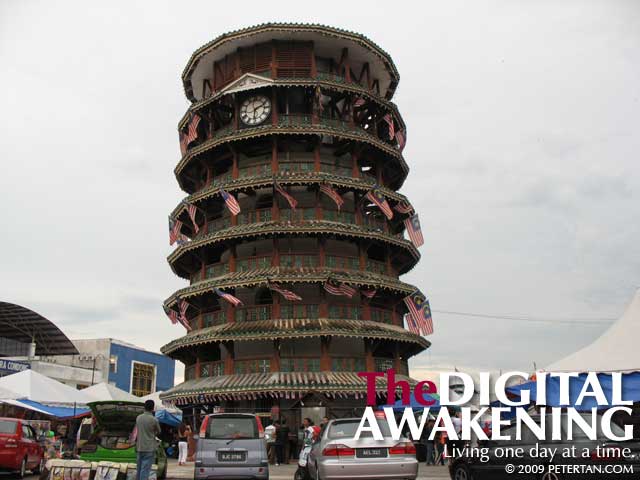
Leaning Tower of Teluk Intan
Leaning Tower of Teluk Intan under cloudy sky.

We do not always get the ideal situation to shoot scenes with a blue sky as the background, especially in Malaysia where we have clouds many months of the year. The photos that I took of the Leaning Tower in Teluk Intan had an overcast sky. I do not usually do massive post processing of the images that I shoot, certainly not changing the sky colour. Nevertheless, it is a rainy day today and I am yearning for some blue skies. Just for the fun of it, I took the photo of the Leaning Tower and replaced the gloomy sky with a cheery blue one.

Leaning Tower of Teluk Intan
Voila! Leaning Tower of Teluk Intan with blue sky.

This is how I turned a cloudy sky to blue with Photoshop:
1. Select the Magnetic Lass Tool and trace the outline of the sky in the image.
2. Hold Shift key and trace the outline of parts of the sky not included in the selection.
3. Click Layer > New > Layer via copy. This will duplicate the traced part of the image and create another layer.
4. In the Layers window, select the duplicated layer.
5. Click Image > Adjustments > Variations. This will open the Variations window.
6. Click More Blue until the desired colour is displayed in Current Pick.
7. Click Ok to exit the Variations window.
8. Click Layer > Merge Down to complete the process.

*Update*
I fiddled a little more with the colour as the blue in the first image was too vivid. The colour below is nearer to that of the sky. This are my initial attempts in photo editing. It is fun. I am wondering if I should get a better LCD monitor or perhaps take my 17″ CRT down from Penang for this.

Leaning Tower of Teluk Intan
Voila! Leaning Tower of Teluk Intan with a nicer blue sky.

Our Photo Exhibition Has Ended

Last day of the photographis exhibition at KLPac
Last day of our photographic exhibition on the death of our mothers at KLPac.

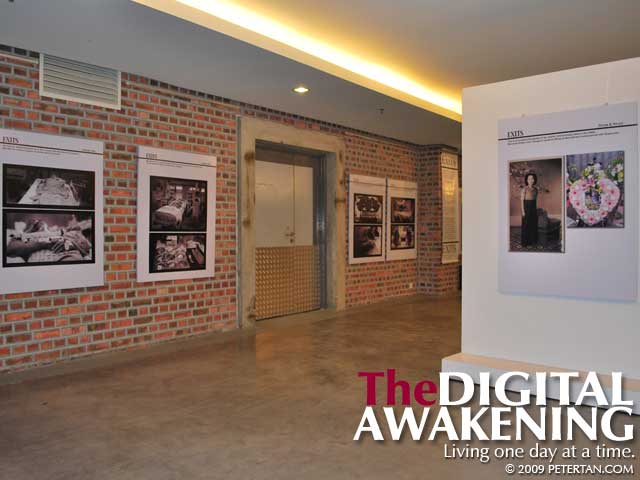
The joint photographic exhibition titled “Exits – The Mysteries of Death” with Victor Chin and Wuan ended last Sunday. I felt a little sad and lost as Victor and Wuan began taking down the frames. It took this long to sink in that we do not need to go to KLPac anymore on weekends.

Victor and Wuan taking down the frames
Victor and Wuan taking down the frames hanging on the wall and panels.

Wuan and I and Victor spent six weekends at KLPac talking to visitors and sharing with them the stories behind the images. In talking, we relived the pain and anguish of experiencing the deaths of our mothers respectively. Yet, it was also a celebration to us – celebrating the love and care that our mothers had imparted to us. In sharing with visitors, we also came to realise many more aspects of our parents that we never knew.

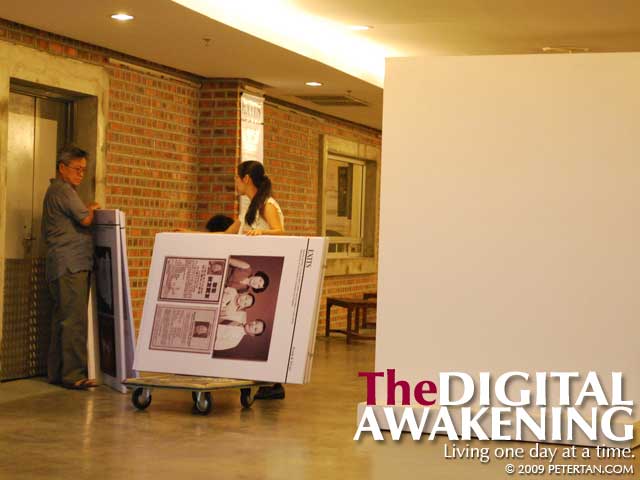
Victor and Wuan arranging the frame for transportation
Packing up to leave.

At the same time, the images brought out a lot of emotions in our visitors, with many of them telling us that they were reminded of their loved ones. A number had tears in their eyes as they recalled the last moments they spent with a parent or a grandparent.

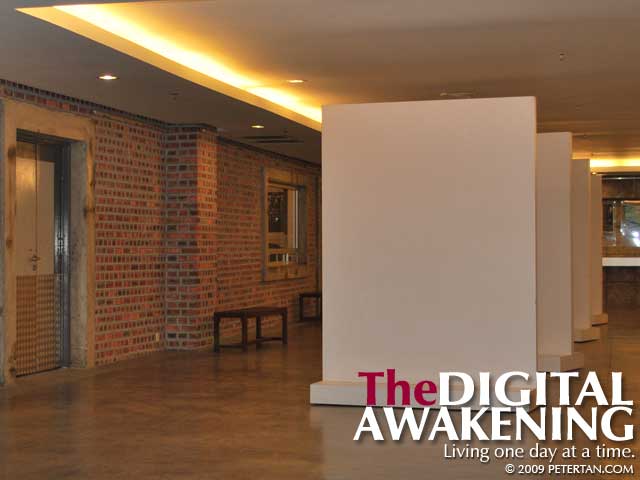
Bare wall and panels at KLPac's Pentas 2 foyer.
The bare wall and panels. The end of our exhibition.

Wuan and I are extremely glad that Victor took us under his wings and guided us along the way. Never had I envisioned to share the photographs of my mother and of her funeral in such a way. It was a liberating experience to be able to open up to strangers on a subject as intimate as this. Besides, death is something we seldom want to talk about openly. Thank you, Victor, for taking us on this unforgettable journey. We would also like to thank friends and visitors who dropped by to share with us their stories and for leaving messages in the guest book.